
This tutorial will explain how to set up and configure a DDoS protected IRC server. This guide assumes you know how to set up an IRC server or already have a server running (and you have access to it).
Step 1: Backend Setup
Setup your prefered IRC daemon on your server, this server will be from here on referred to as the "backend server". On the backend server you may use whichever Operating System you are most familiar with, however if unsure we recommend Debian Linux.
Please ensure that the service is running and connectable on the backend server.
Step 2: Purchase DDoS Protection Service
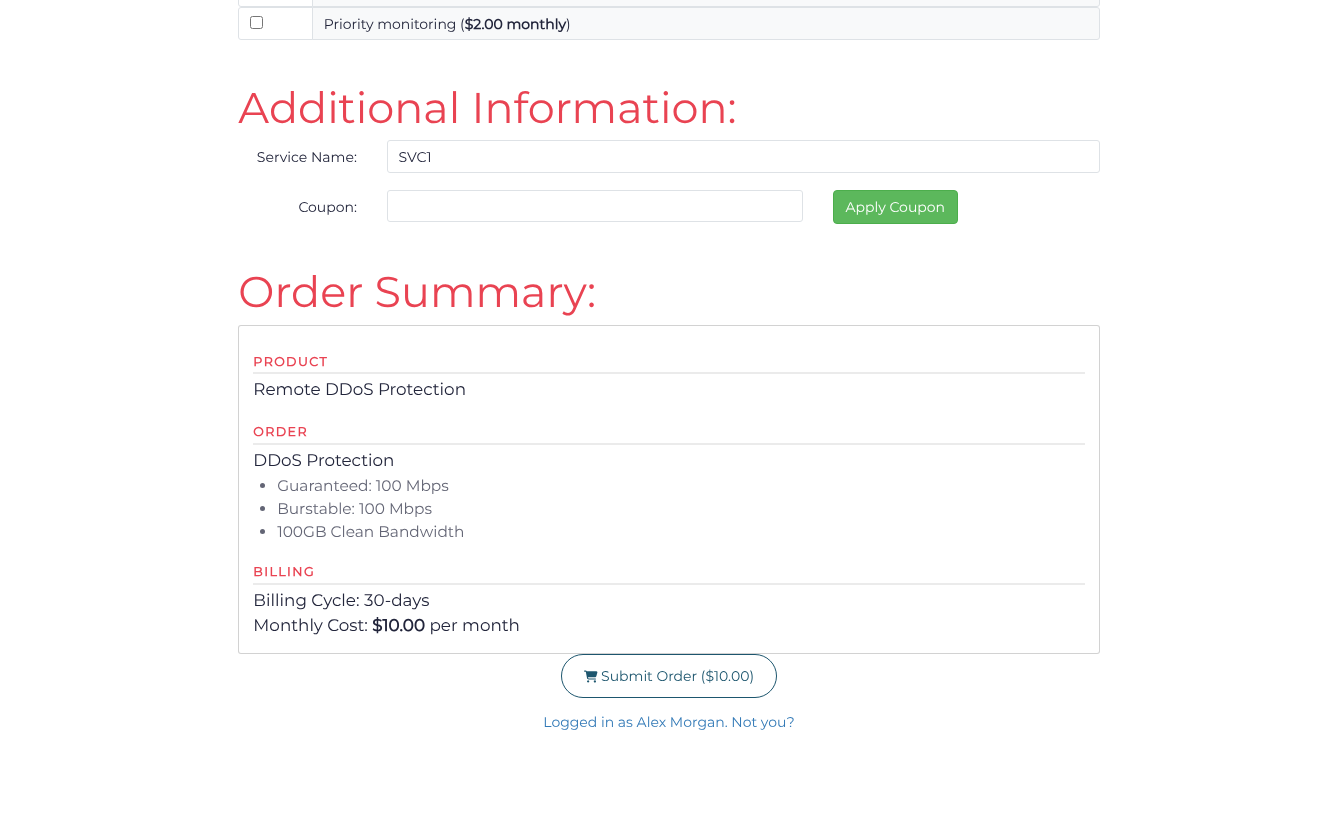
Choose a billing cycle, a service tier/network and the clean-bandwidth allowance on the DDoS protection page, then click Continue to Checkout. On Complete Order, review the filtering region when offered, enter a Service Name, and review the Order Summary before submitting your order. Choose a region close to your backend and users; clean bandwidth measures delivered traffic, not attack traffic. If you already have a suitable active service, continue with that service.
Step 3: Encapsulation Setup (Required if listing server)
This step is only required if you are intending to use a GRE or IP-in-IP tunnel. If you are intending to use a Reverse Proxy (RP) style connection (the easiest) then you can skip this step.
IRC Daemons usually work best over a tunnel. If you choose to run your server behind a Reverse Proxy style setup you will be unable to ban users by IP which will likely be sub-optimal.
An encapsulated backend requires support on the Backend Server, currently Windows and Linux Operating Systems are fully supported, with partial support for FreeBSD. Most Enterprise or even SOHO Routers also support GRE or IP-in-IP tunneling, if supported you may be able to configure the router to terminate the encapsulated network.
Open Services, find your service, and choose Action > Tunnels. Click Add Tunnel, select GRE in Tunnel type, and enter the backend server's public IP in Backend address. Retain the displayed GRE key unless your backend requires a tunnel without one, then click Save. The integrated form below is an alternative way to configure the same tunnel.
The completed example uses 203.0.113.10 as a documentation-only backend address, GRE key 1785302134, and MTU 1472. Replace the backend address with your server’s public IP and use the same key and MTU when configuring that server.
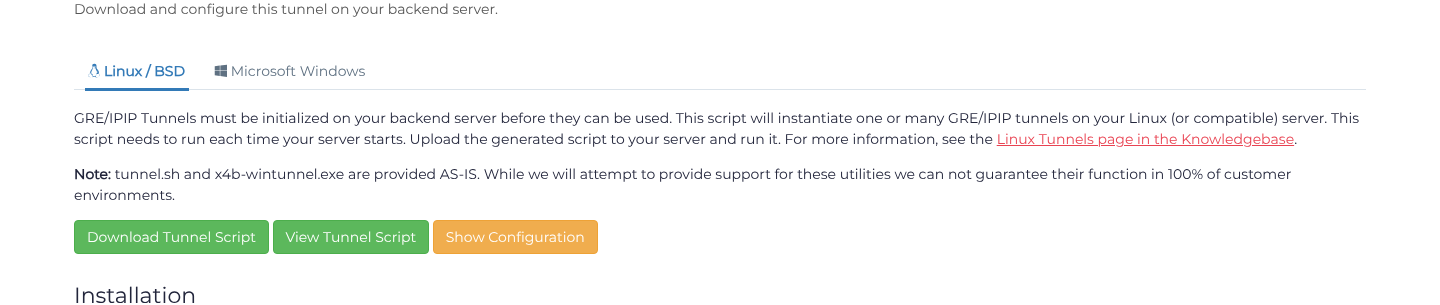
After saving a port that uses this tunnel in Step 4, return to Tunnels and choose the tunnel's Action > Setup Tunnel. Select Linux / BSD and Download Tunnel Script, or Microsoft Windows and Download Application, as appropriate for your backend. The tunnel must be referenced by an Encapsulated port before it is usable. Install the downloaded script or application on your backend using the linked operating-system instructions.
See the GRE/IP-in-IP tunnel setup instructions.
Step 4: Add Ports
Add the ports required to run your service. IRC Daemons by default use port 6667 (TCP) as the main server port.
If unsure you can determine what port(s) the service bound to by using the ss or netstat commands as appropriate.
Open Services, find your service, and choose Action > Ports. Under Single Port, click Add port manually when Add your first port is shown; otherwise click Add Port. Enter the public port in Port start, choose the documented Protocol, and set Backend method to Reverse Proxy with your Backend address and Backend port, or to the available Encapsulated method with the tunnel created in Step 3. Click Save after each new entry and check the saved row. For a range, choose Port Range > Add Port Range, enter Port start and Port end, then select the protocol and backend before saving.
The completed example uses 203.0.113.10 as a documentation-only backend address. Replace it with your backend address, or select the GRE tunnel you created when using encapsulation.
Note: You can setup your backend IRC Daemon on a different ports from your IP with us. This is especially useful on shared IPs or hosts.
Step 5: Finish & Test
Once all steps are completed and the progress bar for deployment of the configuration reaches 100% you should be able to connect to your service on your Filtered IP.
This Filtered IP is the address that you should use in any DNS names, or supply to any connecting users. All traffic which arrives at configured ports on a Filtered IP will be filtered for attack, and then forwarded to your configured backend server.
Note: Keep host and provider firewalls enabled. Allow the required service traffic from the current Backend Communication IP Addresses shown in the Dashboard. For tunnels, also allow the selected tunnel protocol between its endpoints.
IRC Policy
It's a Basic policy and it should be common sense.
Benign and drama-free networks are welcome here.
Strictly no Botnets!
